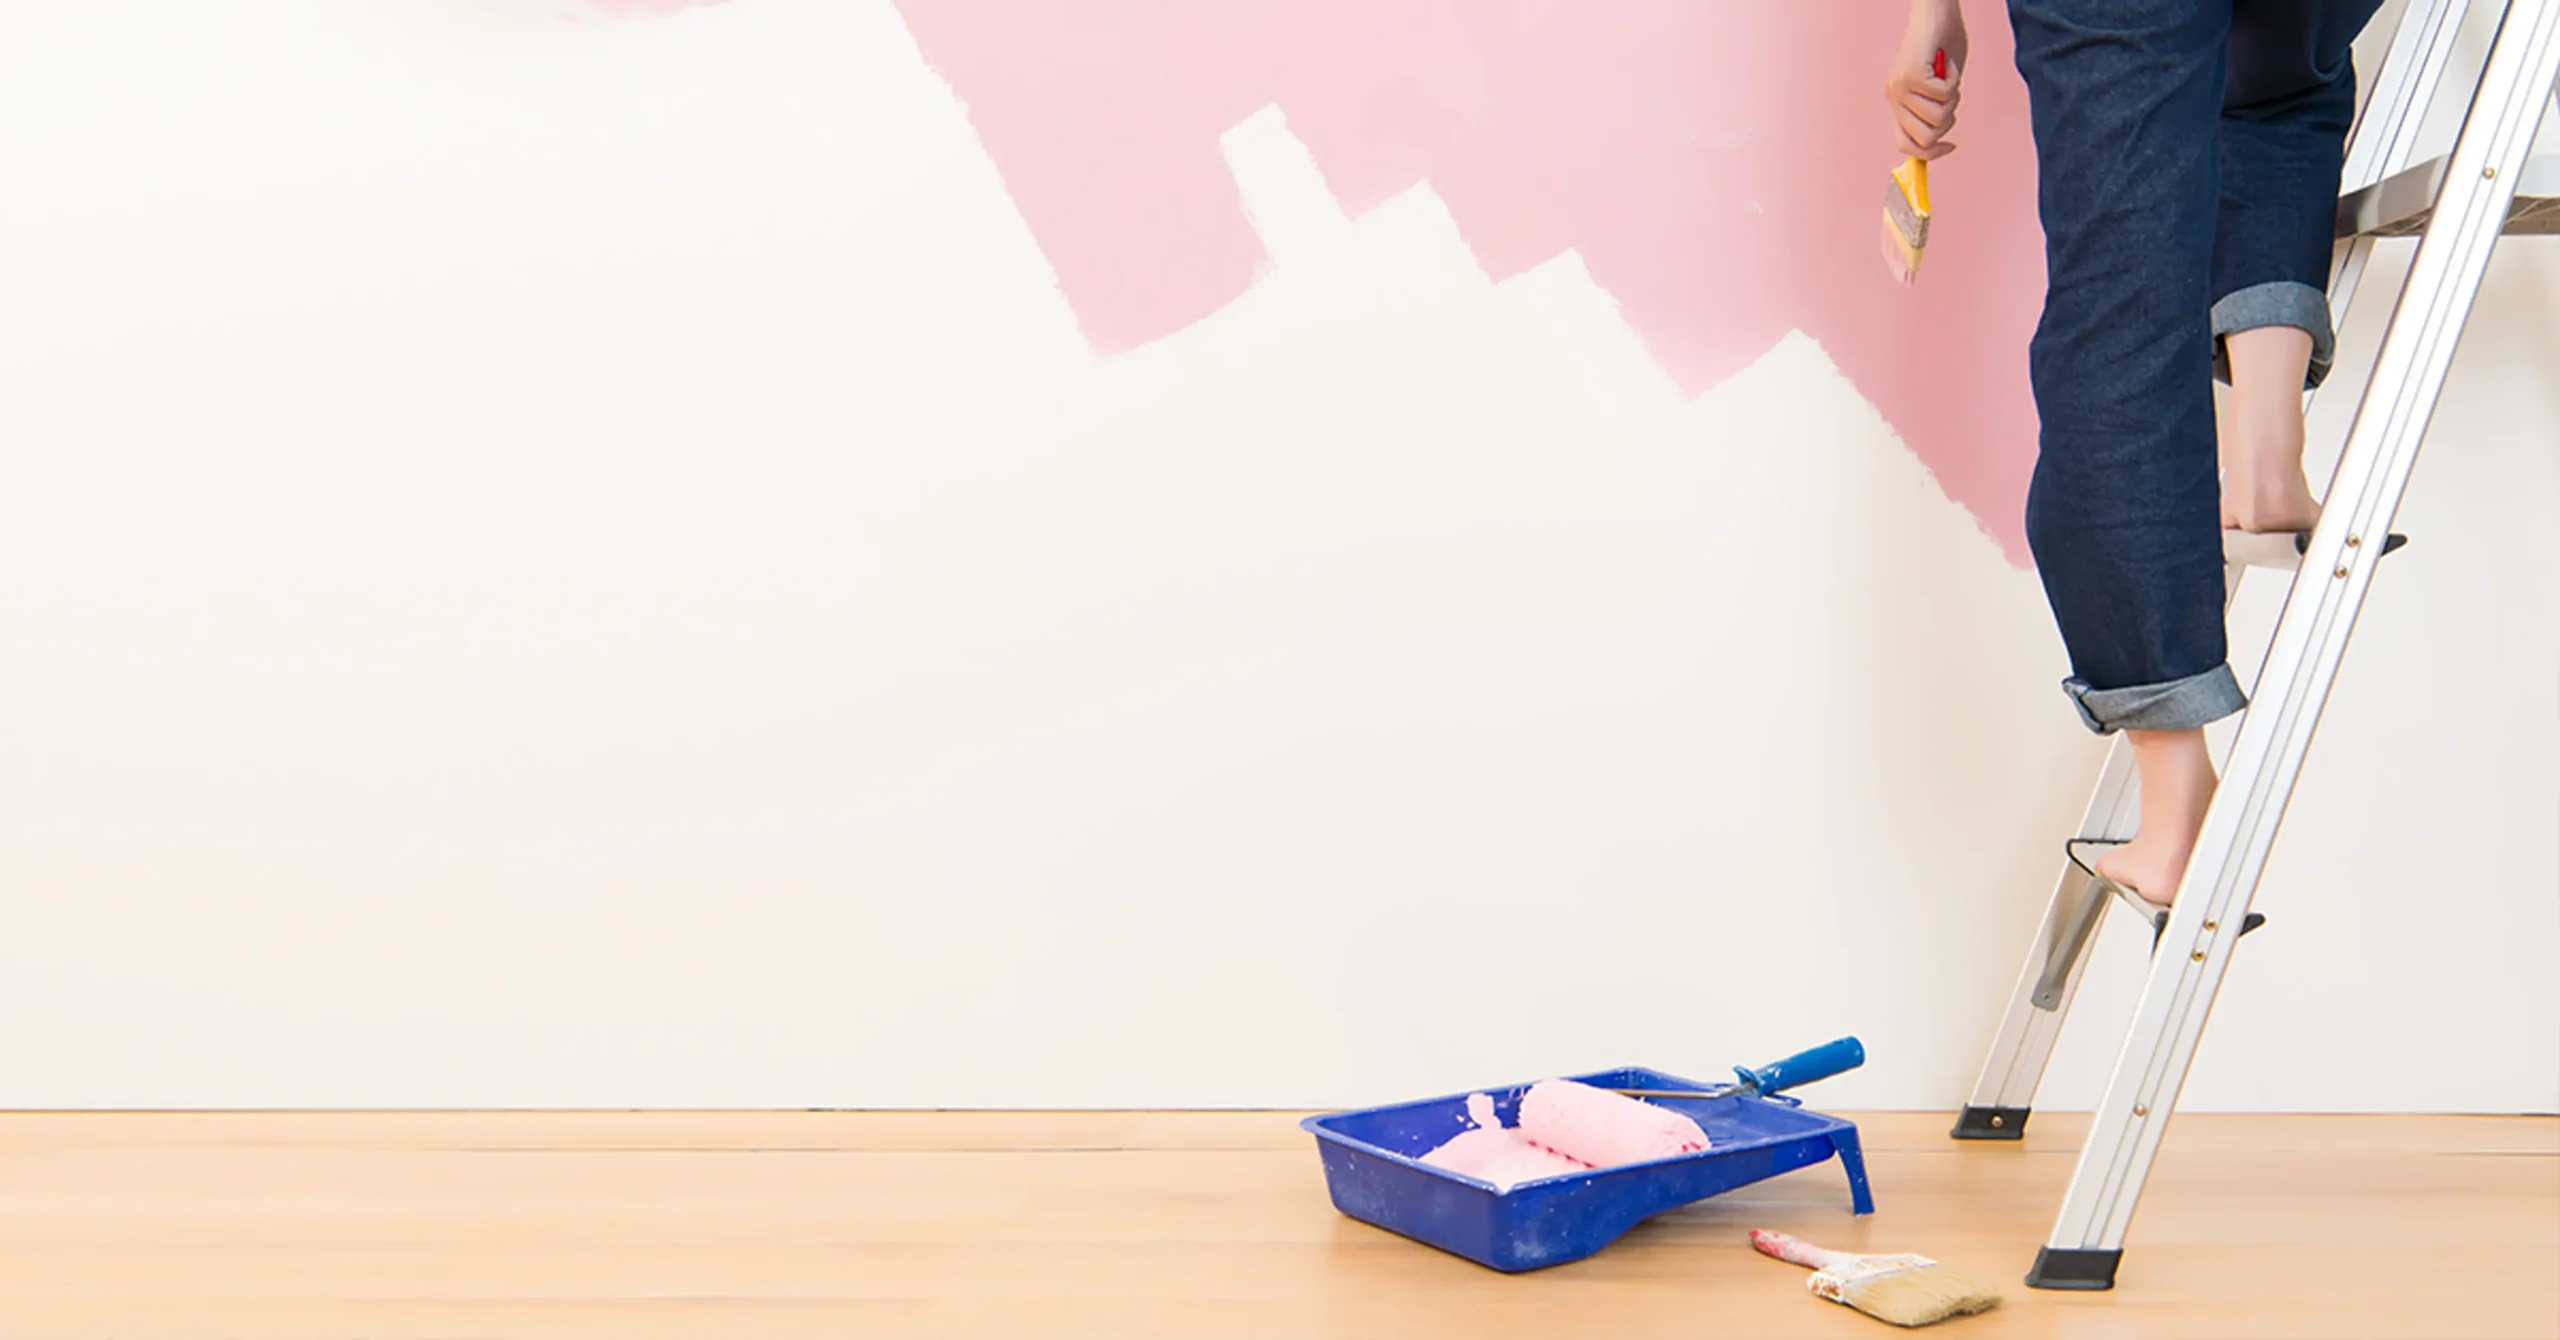
A DIY paint job can look surprisingly close to professional work — or it can look obviously amateur, with visible brush strokes and uneven edges. The difference usually comes down to prep work, not talent. These DIY house painting tips cover exactly that.
1. Prep Work Matters More Than the Paint Itself
In short: The single biggest factor in a professional-looking DIY house painting job is surface preparation — cleaning, sanding, and priming properly before any paint touches the wall.
2. Clean the Walls First
Dust and grease under paint cause uneven texture and poor adhesion. A simple wipe-down with a mild detergent solution before starting makes a real difference in the final finish.
3. Fill Cracks and Holes Properly
Use putty for small cracks and let it dry fully before sanding smooth. Painting over unfilled cracks just highlights them once the paint dries.
4. Use Painter’s Tape for Clean Edges
Picture painting a wall next to a white ceiling without tape — even steady hands end up with slightly wavy lines. Quality painter’s tape, applied carefully, solves this in minutes.
5. Prime Before Painting, Don’t Skip It
Quick answer: Priming isn’t optional for a professional finish — it ensures even color absorption, better coverage, and prevents patchy results, especially over darker existing colors or bare walls.
6. Choose the Right Roller and Brush
- Foam rollers: smooth finish, good for flat walls
- Nap rollers: better for slightly textured surfaces
- Angled brushes: essential for corners and edges
7. Apply Paint in Thin, Even Coats
The instinct is to apply thick coats to finish faster, but this causes drips and uneven drying. Two thin coats consistently look better than one thick one.
8. Work in Sections, Not Randomly
Divide the wall into manageable sections and complete each fully before moving on. This avoids visible lines where wet and dry paint edges meet.
9. Let Each Coat Dry Fully
Rushing the second coat over a still-damp first coat causes streaking and uneven color. Most paints need 4-6 hours minimum between coats, check the can for specifics.
10. Clean Up and Final Touches
Remove painter’s tape while the paint is still slightly wet, not fully dry — this prevents peeling paint along the tape line, a common rookie mistake.
FAQs
Q1. What’s the biggest mistake people make with DIY house painting? Skipping proper wall prep — cleaning, filling cracks, and priming. This affects the final look more than paint quality itself.
Q2. How many coats of paint do I really need? Two coats is standard for most colors, though very dark or very light colors sometimes need a third for full coverage.
Q3. Should I remove painter’s tape when wet or dry? Remove it while paint is still slightly wet to avoid peeling the dried paint edge along with the tape.
Q4. Can I paint over old paint without priming? For similar colors, sometimes. For color changes, especially dark to light, priming is strongly recommended for even results.
Q5. How long should I wait between paint coats? Most paints need 4-6 hours minimum, though checking the specific product’s instructions is always the safer bet.
Conclusion
These DIY house painting tips aren’t complicated, but they do require patience — especially around prep work most people want to rush through. Take the extra hour to clean, fill, and prime properly, and your finished walls will genuinely look like a professional did them.
[Internal link suggestion: link to “Interior Paint Color Trends” article here] [Alt text suggestion: “person using painter’s tape for clean DIY wall edges”]